Animated Backgrounds
In this guide we'll walk you through creating an animation in Rive and adding it to your Samply players. These animations play when a listener first opens your player. You can use them to provide a moment of delight before the player itself is shown.
WARNING
This article is a work-in-progress. It may contain incorrect or incomplete information.

Rive
In order to ensure these animations run smoothly on any device, we'll be using a tool called Rive. Rive is a web-based animation tool that allows you to create high resolution (vector) animations. They have a free plan which should give you all you need to create an animated background for your player.
This guide is focused on only what is needed to connect Rive to Samply. We will not teach you how to animate or how to use Rive. Fortunately, Rive has excellent tutorials to get you started.
Create a Project
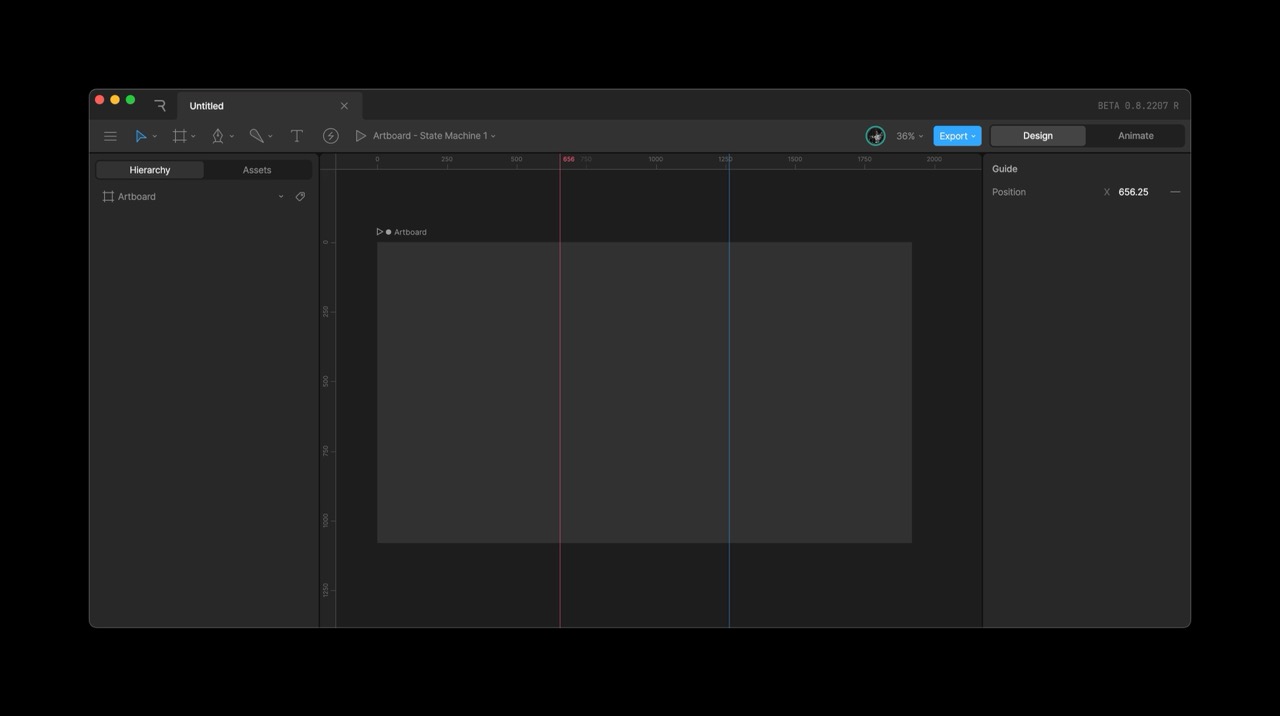
Within Rive, create a project and an artboard. For the artboard, we'll set the dimensions to 1980 by 1080 since that gives us a 16:9 aspect ratio. We also recomend adding vertical guides placed at 656.25 and 1263.75. These guides outline a vertical 9:16 aspect ratio that's useful for seeing how your animation will appear when cropped for mobile devices.

Add a Design
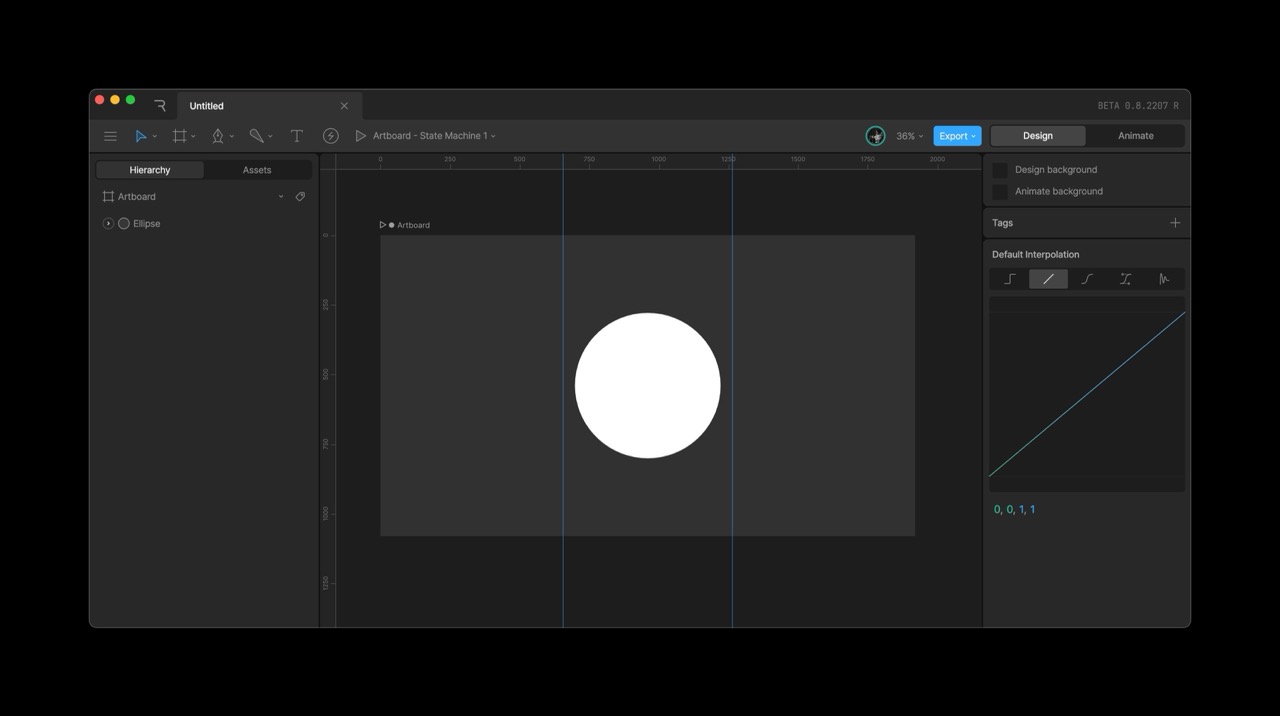
In the design tab of Rive, create the assets for your animation. In this example, we'll use a simple circle to illustrate the basics. Just remember that on mobile devices, only the areas inside the guides will be shown. Since most listeners experience Samply on their phones, we recommend starting with the mobile design first and then adding additional elements if you want to utilize the full width of the artboard.

Animate the Design
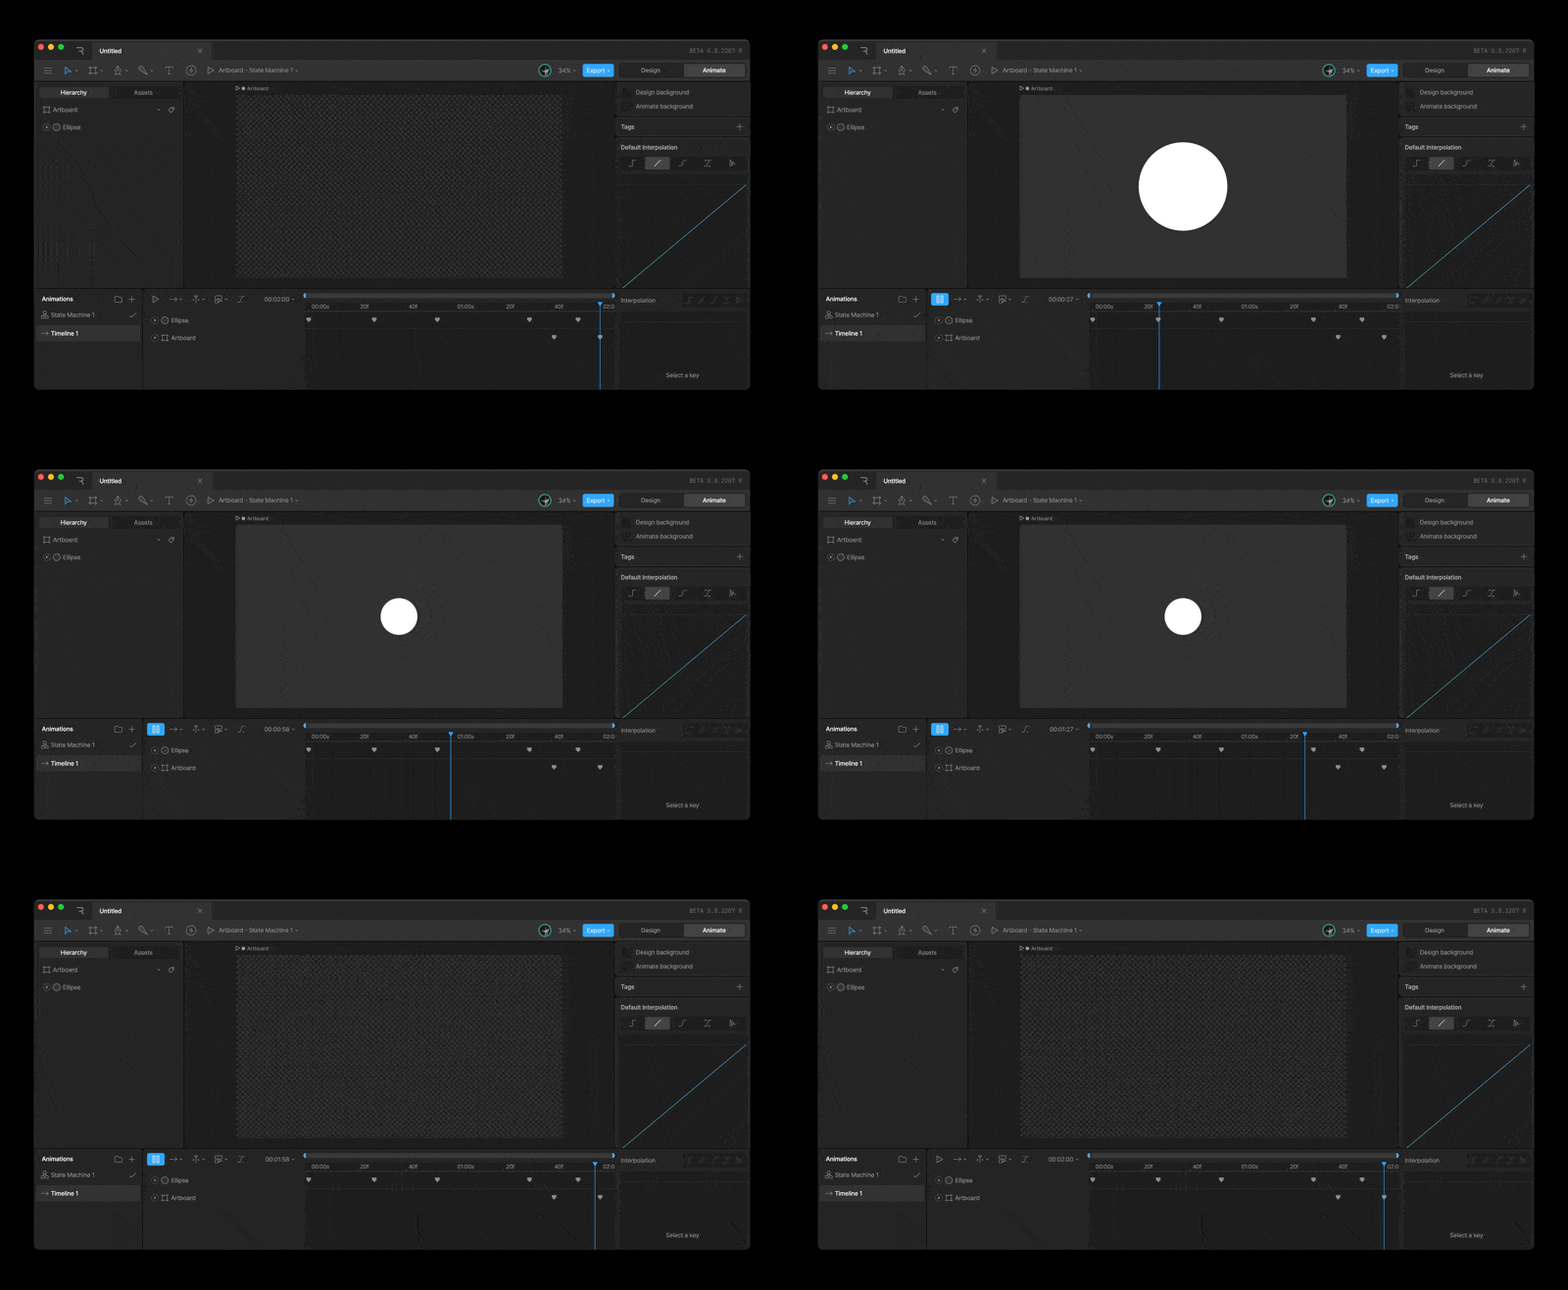
There should be an animation timeline called "Timeline 1". Use this to animate your design. The animation should end however you want your background to appear. In this example we animate everything to disappear from the artboard so that it's just a transparent window. This will allow the default gradient of the player to show after the animation has completed.

Add the "Done" event
In order to let Samply know when it should bring in the user-interface (UI), we'll need to emit a Done event. Events in Rive are a way for the animation to talk to the application that's hosting them. As soon as Samply receives the Done event, it will bring in the album artwork, title, track list and remainder of the UI. While you technically can make your animation as long as you'd like, we recommend no more than 2-3 seconds.
Add an event to your project and name it Done. Then from the animation timeline, "Report" the event at the desired time. We've found that it looks best if you report this event at some point right before your animation finishes. That way the UI comes in at the same time as the animation is ending.
Export .riv File
TODO
Check it here: https://www.rive.rip/
Add .riv to Player
TODO
- Turn on "beta features"
- Open player options
- Advanced
- Click "Add Animation"
- Wait like 30s, it's super janky right now!
"dev=1" important to teach Don't have connections to "Exit" node Name statemachine "Main"